How to Set Up HPLC Instrument for Testing
How to Set Up HPLC Instrument for Testing: A Complete Expert Guide
High-Performance Liquid Chromatography (HPLC) is a cornerstone technique in analytical chemistry, widely used in pharmaceuticals, food testing, environmental analysis, and research laboratories. Knowing how to set up an HPLC instrument for testing is essential for obtaining accurate, reproducible results. Whether you are a novice entering the lab or an experienced analyst optimizing your workflow, this guide will walk you through every crucial step, practical tips, and real-world scenarios.
Why Proper HPLC Setup Matters
Imagine spending hours preparing samples only to get inconsistent or noisy chromatograms. Misconfigured HPLC systems are a common source of errors that can lead to misinterpretation of results, wasted chemicals, and costly delays. Proper setup ensures:
-
Reliable and reproducible retention times
-
Accurate quantification of analytes
-
Reduced risk of column damage or contamination
Step 1: Understand the Components of HPLC
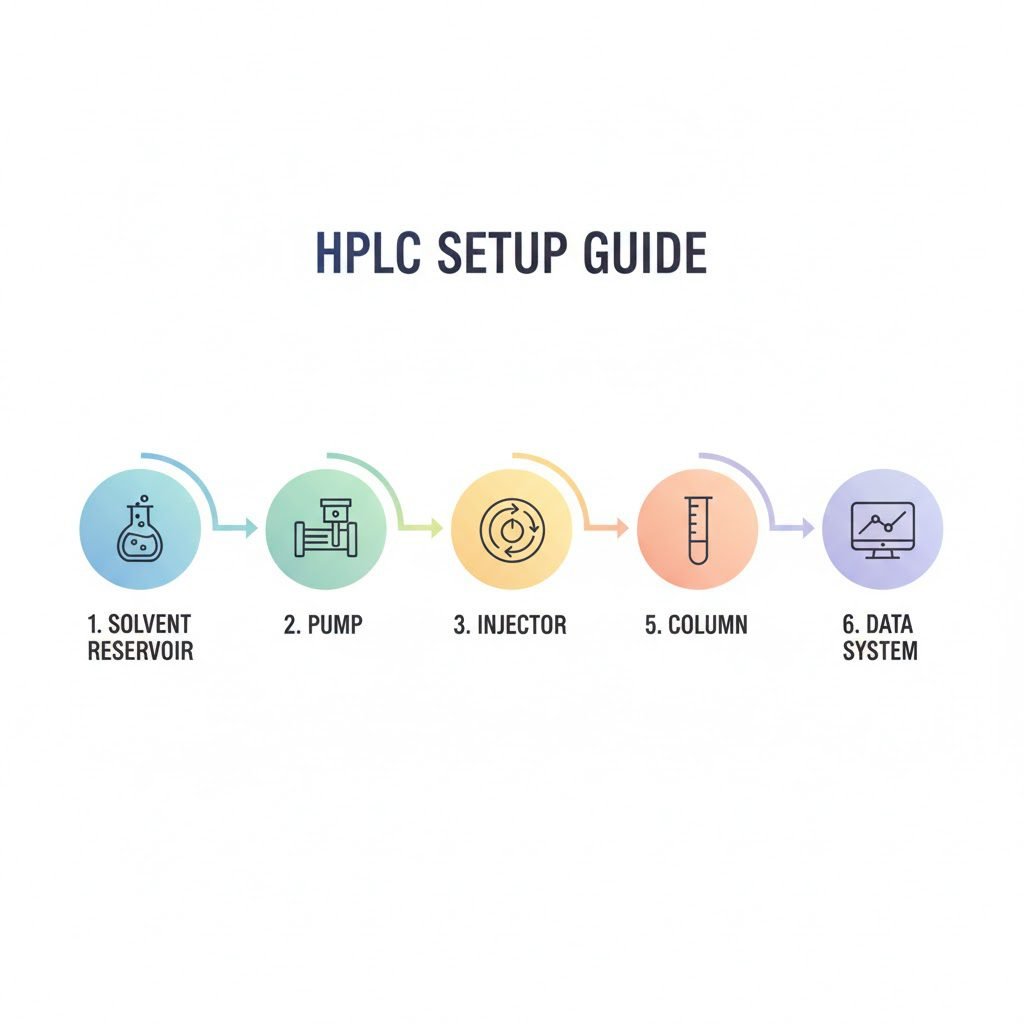
Before turning on the instrument, it’s crucial to understand its core components:
-
Solvent Reservoirs: Hold mobile phases. Use high-purity solvents to prevent contamination.
-
Pump System: Delivers mobile phase at controlled flow rates.
-
Injector: Introduces sample into the mobile phase stream.
-
Column: The heart of separation; select based on analyte type (C18, CN, etc.).
-
Detector: Measures analyte concentration (UV-Vis, PDA, Fluorescence, etc.).
-
Data System: Records chromatograms and calculates peak areas or heights.
Understanding each component helps troubleshoot issues effectively and ensures consistent results.

Step 2: Preparing the Mobile Phase
The mobile phase drives separation in HPLC. Key tips for preparation:
-
Use high-purity solvents: HPLC-grade water, methanol, or acetonitrile.
-
Degas solvents: Remove dissolved gases via sonication or vacuum degassing to prevent bubbles.
-
Filter solvents: Use 0.22–0.45 μm filters to prevent column clogging.
-
Check pH and additives: For ionic compounds, adjust pH using buffers to improve separation.
Example: Preparing a phosphate buffer for HPLC:
Step 3: Column Installation and Equilibration
-
Install the column carefully following manufacturer guidelines.
-
Flush column with mobile phase at a low flow rate to remove air and equilibrate packing material.
-
Equilibrate for 20–30 minutes or until baseline stabilizes in the detector.
Tip: A stable baseline ensures accurate peak identification and quantification.
Step 4: Sample Preparation
Samples must be clean, homogeneous, and compatible with the mobile phase:
-
Dissolve solid samples in mobile phase or appropriate solvent.
-
Filter through a 0.22 μm syringe filter to remove particulates.
-
Maintain consistent sample volumes and concentrations for reproducibility.
Example: Injecting 10 μL of a 1 mg/mL caffeine solution dissolved in mobile phase for UV detection at 254 nm.
Step 5: Instrument Configuration
Pump Flow Rate: Set based on column dimensions (e.g., 1 mL/min for standard 4.6 mm ID column).
Temperature Control: Column ovens improve separation consistency (e.g., 25–30°C).
Detector Settings: Choose wavelength based on analyte absorbance; for caffeine, 254 nm is standard.
Injection Volume: Typically 5–20 μL for analytical columns.
Practical Example:
-
Mobile phase: 70% acetonitrile / 30% water
-
Flow rate: 1.0 mL/min
-
Column temp: 25°C
-
Detection: UV at 254 nm
-
Injection: 10 μL
This setup ensures caffeine is separated in under 10 minutes with sharp peaks.
Step 6: Running the Test and Collecting Data
-
Inject the prepared sample into the system.
-
Monitor the detector response in real-time.
-
Record chromatograms and note retention times.
-
Calculate concentration using peak areas or heights:
Scenario: Comparing a drug sample to a standard allows verification of potency and purity.
Step 7: Post-Run Maintenance
-
Flush the column with an appropriate solvent to prevent residue buildup.
-
Close valves and store the column in solvent recommended by the manufacturer.
-
Clean injection system and detector flow cell periodically.
Pro Tip: Regular maintenance extends column life and reduces costly downtime.
Explore related analytical guides for enhanced understanding:
FAQs About HPLC Setup
1. How long should I equilibrate a new column?
Equilibrate for 20–30 minutes or until baseline is stable; some columns may require up to 1 hour depending on solvent strength.
2. Can I use non-HPLC grade solvents?
No. Impurities can cause high baseline noise and clog the column.
3. How do I know if the mobile phase is degassed properly?
Bubbles in the pump or baseline spikes indicate incomplete degassing. Use sonication or vacuum degassing.
Conclusion
Setting up an HPLC instrument for testing is a stepwise process that ensures precision, reliability, and reproducibility in chemical analysis. By carefully preparing solvents, equilibrating columns, configuring detector settings, and maintaining the system, you maximize data accuracy while minimizing errors. Experimenting with sample volumes, mobile phase ratios, and flow rates allows fine-tuning for optimal separation. Start with these expert guidelines, and you’ll gain confidence in running consistent, high-quality HPLC analyses.