How to Read a Burette in Titration Experiment
How to Read a Burette in Titration Experiment
Performing a titration experiment can feel intimidating at first, especially when precise measurements are key to accurate results. Knowing how to read a burette in titration experiment is essential for chemistry students, lab technicians, and anyone working in analytical labs. A small error in reading the burette can lead to incorrect concentrations, wasted reagents, or invalid results. In this guide, we’ll break down everything you need to know in a simple, practical way.
Whether you’re titrating an acid with a base, determining unknown concentrations, or just learning lab techniques, mastering burette reading ensures accuracy and confidence in your results.
Understanding the Burette
A burette is a long, graduated glass tube with a tap at the bottom, designed to deliver precise volumes of liquid reagent. Its markings allow you to measure the liquid dispensed during a titration experiment with high precision, usually up to 0.01 mL.
Key components of a burette:
-
Graduated scale: Typically in 0.1 mL increments.
-
Stopcock/tap: Controls liquid flow.
-
Tip: Ensures smooth delivery of liquid into the conical flask.

Step-by-Step Guide to Reading a Burette
Reading a burette accurately requires attention to detail and proper technique. Follow these steps:
1. Fill the Burette Correctly
-
Rinse the burette with the solution you will use to prevent contamination.
-
Fill it slightly above the zero mark.
-
Open the tap briefly to remove air bubbles in the tip.
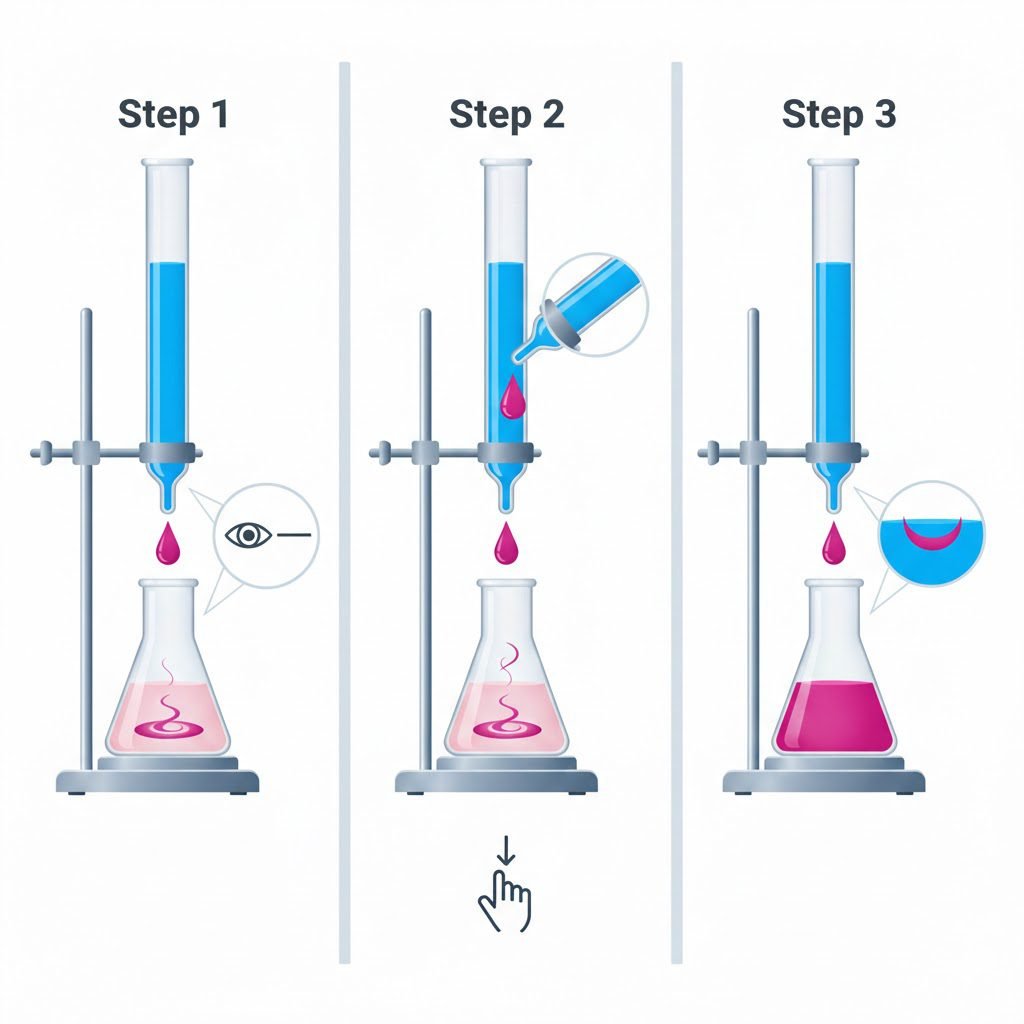
2. Align Your Eye with the Meniscus
-
The liquid in the burette forms a curved surface called the meniscus.
-
Always read the volume at eye level to avoid parallax error.
-
For most liquids like water-based solutions, read at the bottom of the meniscus.
3. Note the Initial Volume
-
Before starting the titration, record the initial burette reading precisely.
4. Dispense the Reagent Carefully
-
Add the titrant drop by drop as you approach the endpoint.
-
Swirl the conical flask continuously to mix the solution.
5. Record the Final Volume
-
Once the reaction reaches the endpoint (e.g., color change), note the final burette reading at the bottom of the meniscus.
6. Calculate the Volume Delivered
Use the formula:
This gives the exact amount of titrant used, which is critical for accurate calculations.
Practical Tips for Accurate Burette Reading
-
Always ensure no air bubbles remain in the tip. Even small bubbles can alter your results.
-
Use a white background behind the burette for better visibility of the meniscus.
-
Read both initial and final volumes carefully; small errors multiply in molarity calculations.
-
When repeating titrations, maintain consistency in technique for reliable results.
Real-Life Examples
Example 1: Acid-Base Titration
Suppose you are titrating 0.1 M HCl with 0.1 M NaOH.
-
Initial burette reading: 0.00 mL
-
Final burette reading: 24.30 mL
-
Volume dispensed:
This volume is used to calculate the unknown concentration in the flask using the formula:
Example 2: Determining Vitamin C Content
A solution containing vitamin C is titrated against iodine.
-
Initial burette reading: 0.00 mL
-
Final reading: 15.75 mL
-
Volume used: 15.75 mL
Accurate burette reading ensures the calculated vitamin C concentration is precise, preventing experimental errors.
Example 3: Multiple Titrations for Average
Repeating the titration 3 times gives readings: 24.30, 24.25, 24.35 mL
-
Average volume = (24.30 + 24.25 + 24.35) / 3 = 24.30 mL
Using averages reduces random errors and improves reliability.
How the Burette Works in Calculations
The burette provides exact volume data, which is an input in titration calculations. For instance:
-
Inputs: Initial and final readings
-
Outputs: Volume delivered (used in moles or molarity calculation)
-
Logic: Accurate volume → Correct stoichiometric calculation → Reliable experimental results
By understanding this flow, you can predict outcomes and troubleshoot common issues in titrations.
Common Mistakes to Avoid
-
Reading the meniscus from above or below eye level (parallax error)
-
Forgetting to rinse the burette with the solution
-
Not removing air bubbles from the tip
-
Dispensing too quickly near the endpoint
Correcting these mistakes is often the difference between accurate and misleading results.
FAQs
Q1: Should I read the top or bottom of the meniscus?
A1: Always read the bottom of the meniscus at eye level for transparent solutions.
Q2: Can I reuse the same burette for different solutions?
A2: Only if it is thoroughly rinsed with the new solution to avoid contamination.
Q3: How precise are burettes in titration?
A3: Standard burettes measure to ±0.05 mL, making them highly precise for laboratory work.
Conclusion
Knowing how to read a burette in titration experiment is a cornerstone skill in chemistry. It ensures that your titration volumes are accurate, calculations are reliable, and your experimental outcomes are trustworthy. By following the correct technique, avoiding common errors, and practicing consistently, you can confidently perform titrations and achieve precise results.
For more insights on chemical analysis and laboratory practices, explore related guides like how to interpret gas chromatography results, how to calculate molarity from titration data, or how to set up HPLC instrument for testing.